

“You’re constantly surrounded by signs, coincidences, and synchronicities ,
all aimed at propelling you in the direction of your destiny.” – Denise Linn
all aimed at propelling you in the direction of your destiny.” – Denise Linn
INSPIRATION
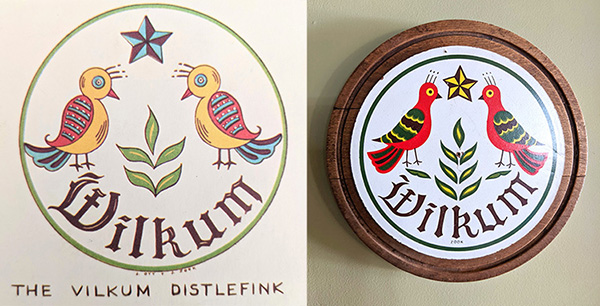
In February 2021 a strange synchronicity occurred. I received a package in the mail from my friend, Courtney, who I hadn't seen for a while (I hadn't seen any of my friends in a while at that point due to the pandemic.) She sent me a booklet she saw at an antique store called Hexology: the History and The Meaning of the Hex Symbols by Jacob and Jane Zook. She said she saw it and thought of me.


DESIGN
I hadn't thought about the book my friend sent until this summer when, out of the blue, my Dad asked me to paint him a "barn emblem." I had no idea where he got that idea, but I knew where to look for inspiration. I poured through the book and internet and considered several different routes. At first I thought he should have a Native American inspired design because of his heritage. I sent him a few options. Then he said he had looked at several Pennsylvania Dutch designs and his original idea had leaves going around the edges. So I decided to try to marry the two inspirations (Native American and Pennsylvania Dutch) by incorporating a "sun" and "quilt" look. Below you can see how I played around with the design in Illustrator until I honed it down to the final choice (starred in red).

After the design was finalized, I printed it out to the size of the wood circle we bought which was thirty inches. Below you can see my assistant checking it out.

PAINTING
Once I had the print out, I had to transfer it to the wood circle. I bought a really nice, giant compass from Amazon. I was really impressed with how heavy duty it was and it was very helpful in transferring the design. I also used carbon paper to help me transfer the triangles.

I wasn't a hundred percent sure that using painter's tape would give me really clean lines. I bought the green "frog tape" that is supposed to do just that, and it worked wonderfully. I did paint a white layer first so that if it was going to bleed, it would bleed white onto the white background. And then I did the color layer after the first white layer dried.
I was especially impressed that I was also able to cut the tape and it still gave me clean lines! Below you can see I placed the green tape where I wanted my outer circle. I then scribed a circle with the compass and used an X-acto blade to cut the tape. It worked incredibly well!

This 60 second video shows the entire process from sketch to painted finish. Turn your volume on! (Music by lesfm from Pixabay)
OHIO STAR
After I posted the photo below on Instagram, my friend Mark sent me a message asking if I knew the significance of the Ohio star. I found out what I thought of as the blue "quilt" part of the design, is actually called an "Ohio Star." This shape has a rich history in the quilting world and has been around since the early 1800's. The "block" has been called by several names but earned the name "Ohio Star" in honor of the town of Oberlin, Ohio and Mary (quilter) and Lewis Leary, and John Brown's anti-slavery efforts. (The full history can be found here and here.) I had no idea when I chose that shape that it was an important historical symbol for Ohio!

SIGNING & COATING


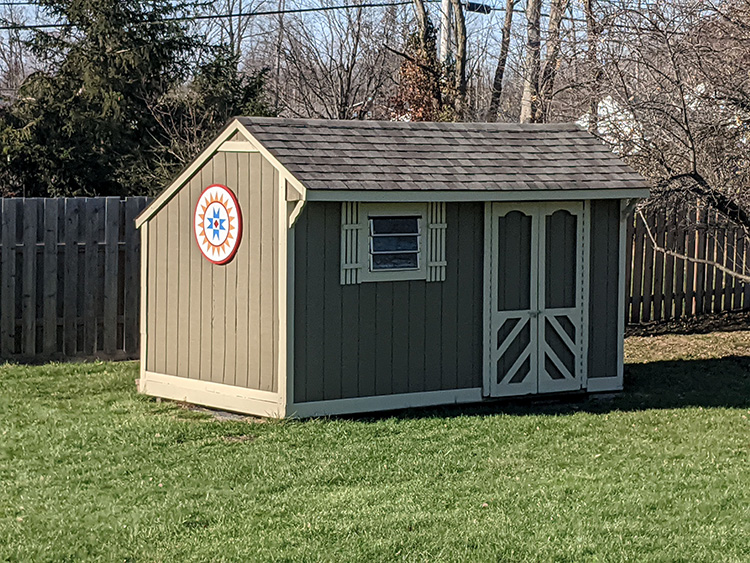
My original idea for hanging the hex sign was to simply put a wire across the back and hang it by a screw on the shed. But my Dad was worried about the wind picking it up (he recently lived through a bad tornado). I then came up with what I thought was a genius idea. I thought we could use two French cleats facing parallel to each other to form a sleeve. And then George had the even more genius idea to turn the two cleats vertical and put a stopper underneath so the sign would hit the stopper and be held in place by gravity and the cleats. I bought the cleats and on Thanksgiving day we went out to install them and realized our beautiful plan was foiled by the uneven, wonky walls of the shed.
In the end we went with the simpler method of attaching 3 stainless steel D-rings to the back.
In the end we went with the simpler method of attaching 3 stainless steel D-rings to the back.

We then marked the placement of the D-rings on the paper template, drilled three holes in the shed, strung wire through the rings and pulled it through the three holes. On the back side we just twisted the wires around each other to hold it tight.


When my Dad first asked me to make him a "barn emblem" back in September, I didn't know that he was going to have knee replacement surgery at the end of October. The timing of it worked out perfectly so that I worked on painting the sign when I went up to stay with him after his surgery. After a difficult day or two, we got into a routine where I would help him come down his stairs and set him up in front of the TV. We would then eat breakfast together. Usually around the time the "Price is Right" came on, I would start working on taping and painting the sign. As I was painting we would both be rooting for the contestants to spin a dollar on the big wheel or exclaiming when someone won a fancy car or vacation. I loved spending this time with my Dad. I like to think that love worked its way into the paint and rays of this Ohio star, and will shine brightly for many years to come.

“We have calcium in our bones, iron in our veins, carbon in our souls, and nitrogen in our brains. Ninety-three percent stardust, with souls made of flames, we are all just stars that have people names.” — Nikita Gill

“What are we but shooting stars, hoping to shine long enough to make at least one soul believe in the magic.” — Sherry Namdeo

A big "THANK YOU" to my incredibly supportive husband George. You make all my crazy projects possible and tolerate endless discussion about mundane details of French cleats, miniature, stainless steel screw eyes, and weight capacity of D-rings. You are truly my partner in all projects and I love you.


1 comment:
It looks great -- I enjoyed seeing the hex sign up close when I visited. You clearly put lots of love, attention, and work into this project, and it shows! Candace
Post a Comment